I'm pretty sure I've made somewhere in the ballpark of 50 of these blankets over the years since I made Layla's when she was 6 months old. When I whipped up two more for baby gifts this past weekend, I thought it was about time I shared the how-to with you all here!
I know many of you could figure this out on your own, but sometimes it's nice to have the measurements and instructions done for you, right? Also, I'm trying to make this pretty beginner-friendly, so if you're more advanced, I'm not trying to insult your intelligence :)
Without further ado, you will need:
1 yard each of two different flannel fabrics.
1 yard each of 4 coordinating ribbons--I use 1 1/4" wide ribbons from Hobby Lobby
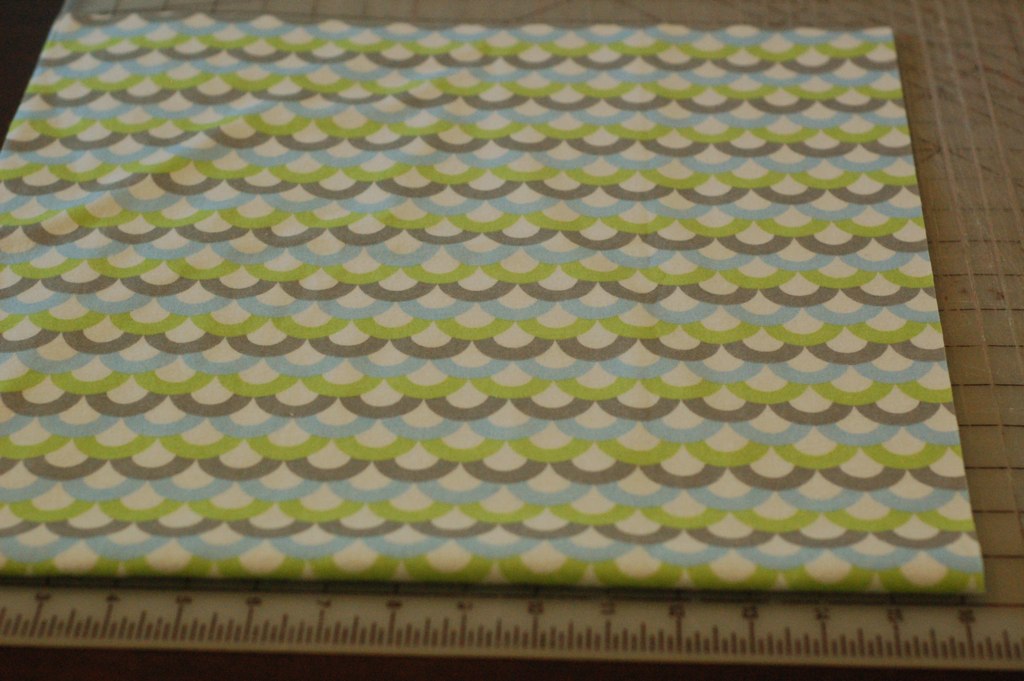
First, cut your flannel pieces to measure 33 x 33. To make this easy, I press my fabric in half and in half the other way. Then I place a folded edge on the zero line and cut at 16.5 inches. Turn it to the other folded side and do the same thing. This will make a perfect square! But, do it however ya want :)
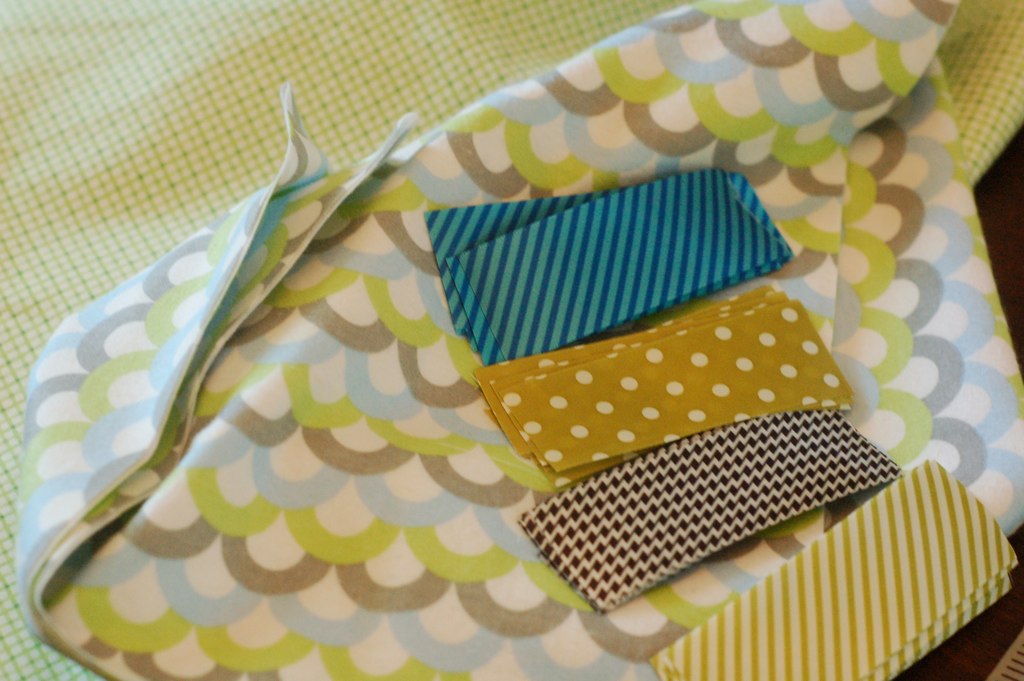
Also, cut your ribbons into 4" pieces. You'll need 8 of each. A yard makes exactly 8, so if you're worried about mess-ups, buy a little extra. Here are my ready-to-go fabrics and ribbons:
Next, we pin the ribbons to the main fabric. To start, place your ruler at the edge of your fabric and pin a ribbon (folded in half) at the 1" mark, like this:
Then, move your ruler to the right, so the pin in the middle of your ribbon is at the edge of your ruler, like this:
After that, start pinning your ribbons every four inches, centering the pin on each 4" mark. Like this:
When you get to the end, the pin in your last ribbon will be about 3 inches from the end. After that, turn your fabric and do the next side the same way. Your corner will look like this:
When they're all pinned, baste all the edges, 3/8" from the edge (I like to baste inside my seam allowance so I don't have to bother ripping out the basting later.)
Now you're ready to pin the back piece on. With right sides together, pin your main fabric to your backing fabric. (Tip--Each fabric has two stretchier sides and two that aren't so stretchy. It's helpful to pin the stretchier side of your main fabric to the stretchier side of your backing--it's just easier to sew them together nicely when the grains are the same way). Leave a 5 or 6 inch opening for turning and sew them together in a 1/2" seam.
Trim your corners like so:
Then, turn it right side out through your opening. Poke the corners gently with a chopstick, ahem, point turner ;) and press your edges nice and neat:
Don't worry about hand sewing that hole up--if you press neatly, the top stitching will take care of it.
Last step! Top stitch around the edges, about 1/8" from the edge.
Done and done!
FYI: The company, Taggies, has a patent on anything with two or more looped ribbons. Because of this, we can make these for ourselves or for gifts, but we are not allowed to sell them. If you try selling them on Etsy, you will be discovered and they will remove your listings and you will be bummed out. I know this from experience :)


What a great tutorial, thank you for sharing with us , I must do it for my baby boy!
ReplyDeleteHave a great weekend!
Thanks! I am going to make this for my niece who is expecting.
ReplyDeleteI don't understand what the loops are used for????
ReplyDeleteHaha! It never occurred to me to explain the loops! Babies looooove tags. I first made this because my daughter, at six months, had a blankie and would always find the tag on it and hold it and rub it. Hence, a blanket full of them :)
ReplyDeleteI've made a couple of these with flannel and minky for more texture. I thought they turned out well but didn't like sewing with the minky!
ReplyDeleteThanks for the tutorial and the suggestions (like having the grain of the fabric match). Things like that really help us!
Thanks for explaining the tabs. Do you use satin or cotton ribbons? When our daughter was about a year old she had her favorite blanket and sucked on the satin binding, which I had to replace at least twice because she wore it out. Thanks for the tutorials.
ReplyDeleteYour tag size is good. I made one, but only after doing some research and found a post from a neonatal nurse who said the tags had to be short. Babies/toddlers were twisting their little fingers in them and getting the circulation cut off. So, the adorable tags need to be short. That makes sense to me :) And, obviously to you too. I have seen some with much longer tags and that's not good. Great Tutorial - thank you!! :)
ReplyDeleteI made one for my granddaughter who is now 15 months old, only a small one she could fiddle with when she was younger, and now she uses it for her dolly's blanket. I used all different types of ribbon to create different textures. I hadn't thought about the tags being too long and mine are much longer. Will do them shorter in future.
ReplyDeleteI just got on Etsy and there are tons of blankets with tabs for sale from many sites. Are you sure you are right about the patent?
ReplyDeleteI love this blanket!! I want to make one! My daughter is having a baby, so this will be perfect for her. Thank you!
ReplyDeleteStephanie
Thank you so much for this awesome tutorial. I'm expecting my 4th grandchild soon, a boy and I can't wait to make one of these for him! I may have to make a few of them! I love how you explained everything so well along with the pictures. You're wondeful to do that for us!
ReplyDeleteCarolyn
My grandson received a gift of this blankee. It had minkie on one side and flannel on the other. The ribbons were color coordinated but varied in width. It is very durable and the minkie makes it very soft. It is his absolute favorite comfort item.
ReplyDeleteOnly two of the photos are showing up for me. I'm going to try it with just the instructions. Thanks!
ReplyDelete