The Christmas sewing has been in full swing for quite a while here now. I always waver before sharing anything I'm making for Christmas here on the blog because I don't like ruining surprises, but this one is too good not to share before Christmas because it's something that is so easy and fast to make for friends and family and I think if I can be useful to you in your own Christmas sewing endeavors, then I should :)
This little pot holder mitt idea stemmed from
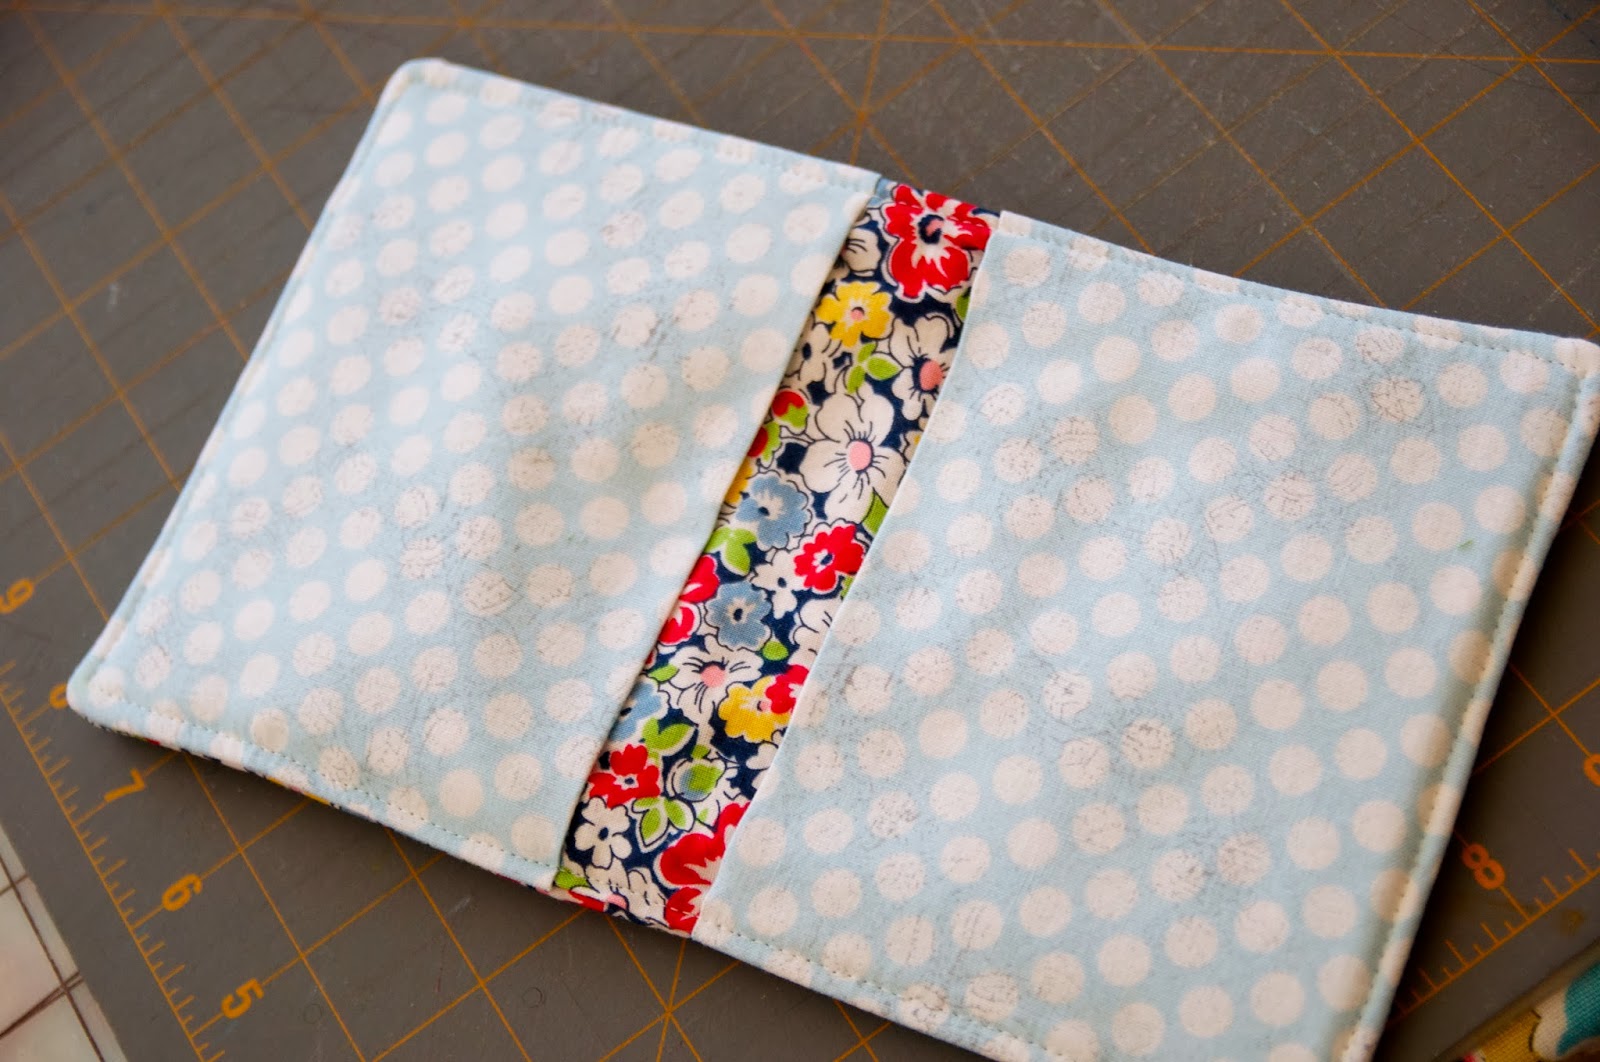
this tutorial. That version is beautiful! But, I needed something designed for mass production so I tweaked it a bit, eliminated the finicky binding (I never get machine sewn bindings to look good!) and changed the dimensions just a bit. Here's the finished product:
And here is how to make your own :)
What you need:
- Two 11x7 pieces for your main fabric (a quarter yard will work, a fat quarter will not)
- Two 10x7 pieces for your pockets
- An 11x7 piece of Insul-Brite. This is a heat resistant fabric made for projects like this and you can find it at your fabric store in the utility fabrics section. It's $7.99 a yard, but I had a half off coupon so it was really inexpensive. Plus, I've made ten of these and probably have enough for ten more.
- An 11x7 piece of cotton batting. I have plenty of scraps and if you don't, I bet someone you know who sews does!
- A walking foot if possible.
- A strong needle, a 90 probably. I used an 80, but my machine is semi-industrial.
Let's get started! You should have cut your fabric to look like this:
Go ahead and press your pocket pieces in half hamburger-style:
Now for sandwiching your fabrics together. Put your piece of Insul-brite on top of your piece of cotton batting. Then put one of your main fabric pieces right side up on top of those.
If you're not using a walking foot or if you're a beginner, I'd suggest basting those layers together and also basting your pockets on after that. I skipped any basting and mine stayed together fine. Next on your sandwich goes your pockets, with the folds toward the center:
Lastly, place your remaining main fabric piece right side down on top of all that:
Pin your layers together around the edges, planning for an opening for turning. I put mine on a long side--you can see I placed two pins together up there to remind me to stop. I left about three inches. Maybe a bit more.
Go ahead and sew that sandwich together in a half inch seam. Then, trim your seams and corners, but not where your opening is; leaving that part untrimmed will ensure you catch those edges in when you top stitch.
Turn right side out between your main fabric and your main fabric with pockets piece. Those layers can be confusing if you didn't baste, but you'll figure it out :)
Poke those corners out good with a chopstick (or whatever) and press it good, pressing your opening closed. I then place a pin in my opening, ready for top stitching. I don't bother hand sewing that opening.
Top stitch about an eighth of an inch away all the way around and you're done!!
This is what the pocket side should look like:
And the other side hopefully looks like this...
These are really fast! I made this one in about 10 minutes and that was with taking pictures!
I love looking at this pretty stack with all my favorite fabrics :)
I hope you enjoyed this little tutorial!! If you make some, I'd love to see them, so link me in the comments!! And if you make many, I hope your sewing table has as pretty of a mess on it as mine does ;)


What a great gift! I like yours without the binding better. Someone gave me one with binding...the binding makes it too stiff to use comfortably, so it rarely gets used.
ReplyDelete